Life Lately: Childbirth & Sleep Deprivation

I’ve been on a bit of a writing hiatus since the birth of my second child, but I’m slowly starting to get into a routine and write more. I have two new FE Media parenting posts to share with you. Click the photos to read, and I hope you enjoy them. Thanks for reading and I hope to be back writing more soon.

Healing After Traumatic Childbirth: 7 Keys to a Better Birth Experience

blog-img-childbirth1

6 Strategies to Survive Sleep Deprivation that Don’t Include Sleep When the Baby Sleeps

IMG_5962

My newborn and I about two weeks after birth, bleary-eyed with sleep deprivation but happy and thankful!

Two New FE Media Blog Posts

I haven’t been writing as much with the preparation for the birth of my second child, but I do have two new parenting blog posts I wrote for FE Media to share with you. Please click the photos to read. I hope you enjoy them, and thanks for reading!

Our Second Act: What I Currently Have in Common with the Duchess of Cambridge

blog.img.FTM.entry18

19 Survival Tips for the Last Month of Pregnancy

iStock_000020333395_XXXLarge

The 24th Annual Western Reserve Spring Writers Conference

Lakeland clock tower

The 24th Annual Western Reserve Spring Writers Conference will take place at Lakeland Community College on Saturday, March 28, from 8:30 a.m. to 1:30 p.m. I’m excited to tell you I’ll be hosting one of the sessions, “How to Start and Maintain a Blog.” If you’ve wanted to write your own blog but don’t know where to start, I’ll teach you how to begin, help you brainstorm blog post ideas, and show you how to add pictures and media to enhance your writing, for starters.

Conference Coordinator Deanna Adams will talk about how to organize your novel and how to write your life story when you’re not famous. Sunny McClellan Morton will hold a workshop called “Powerful Words Make Powerful Prose,” and Nicole Eva Fraser will discuss “Ghostwriting for Fun and Profit.”

The cost of the conference is $69, and for an additional fee of $15, you can sign up for prearranged editing sessions with Judy Allen, Elizabeth Irwin, or Diane Taylor. For more information, including a complete list of workshops, the bios of all the presenters and editors, and to register, please click the link to the conference website.

I’ve twice been a panelist at the fall conferences, on how to “Jump Start Your Writing Life” and how to “Build Your Platform with Pinterest,” and I’m looking forward to teaching my first hour-long workshop. I’d love to see you there!

Photo credit: Lakeland Community College

4 Ingredients to Relief: An All-Natural DIY Home Remedy for Headaches/Migraines

Last week I shared an all-natural DIY home remedy for sinus congestion and colds that has been especially helpful to me during my pregnancy. Another issue I’ve had during both my pregnancies is migraines (I get them when I’m not pregnant too, but they are infinitely worse for me during pregnancy). My neighbor shared with me a recipe for an all-natural headache remedy and I wanted to pass it along to you.

In the last three or so years I’ve been dealing with migraines I’ve learned the hard truth that for me, there is no one cause, and there is no one right answer. So while this treatment was certainly helpful in easing the pain, it’s not the silver bullet I’ve been searching for (which I’m still hopeful I can find once I’m done with pregnancy and nursing). However, I have many “tools” in my arsenal against migraines, and I’m happy to add this remedy as one more thing I can use. If you have more of a “regular” headache this may be just the thing you’re looking for, and if you try it, I hope it helps you!

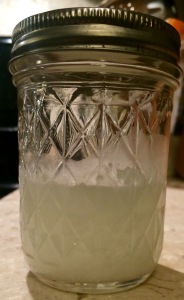
The recipe below will fill half of a small mason jar. Double the quantities to fill an entire jar. You can also adjust the amount of essential oils you use to suit your preferences.

FullSizeRender (10)

Ingredients

2 heaping tablespoons coconut oil

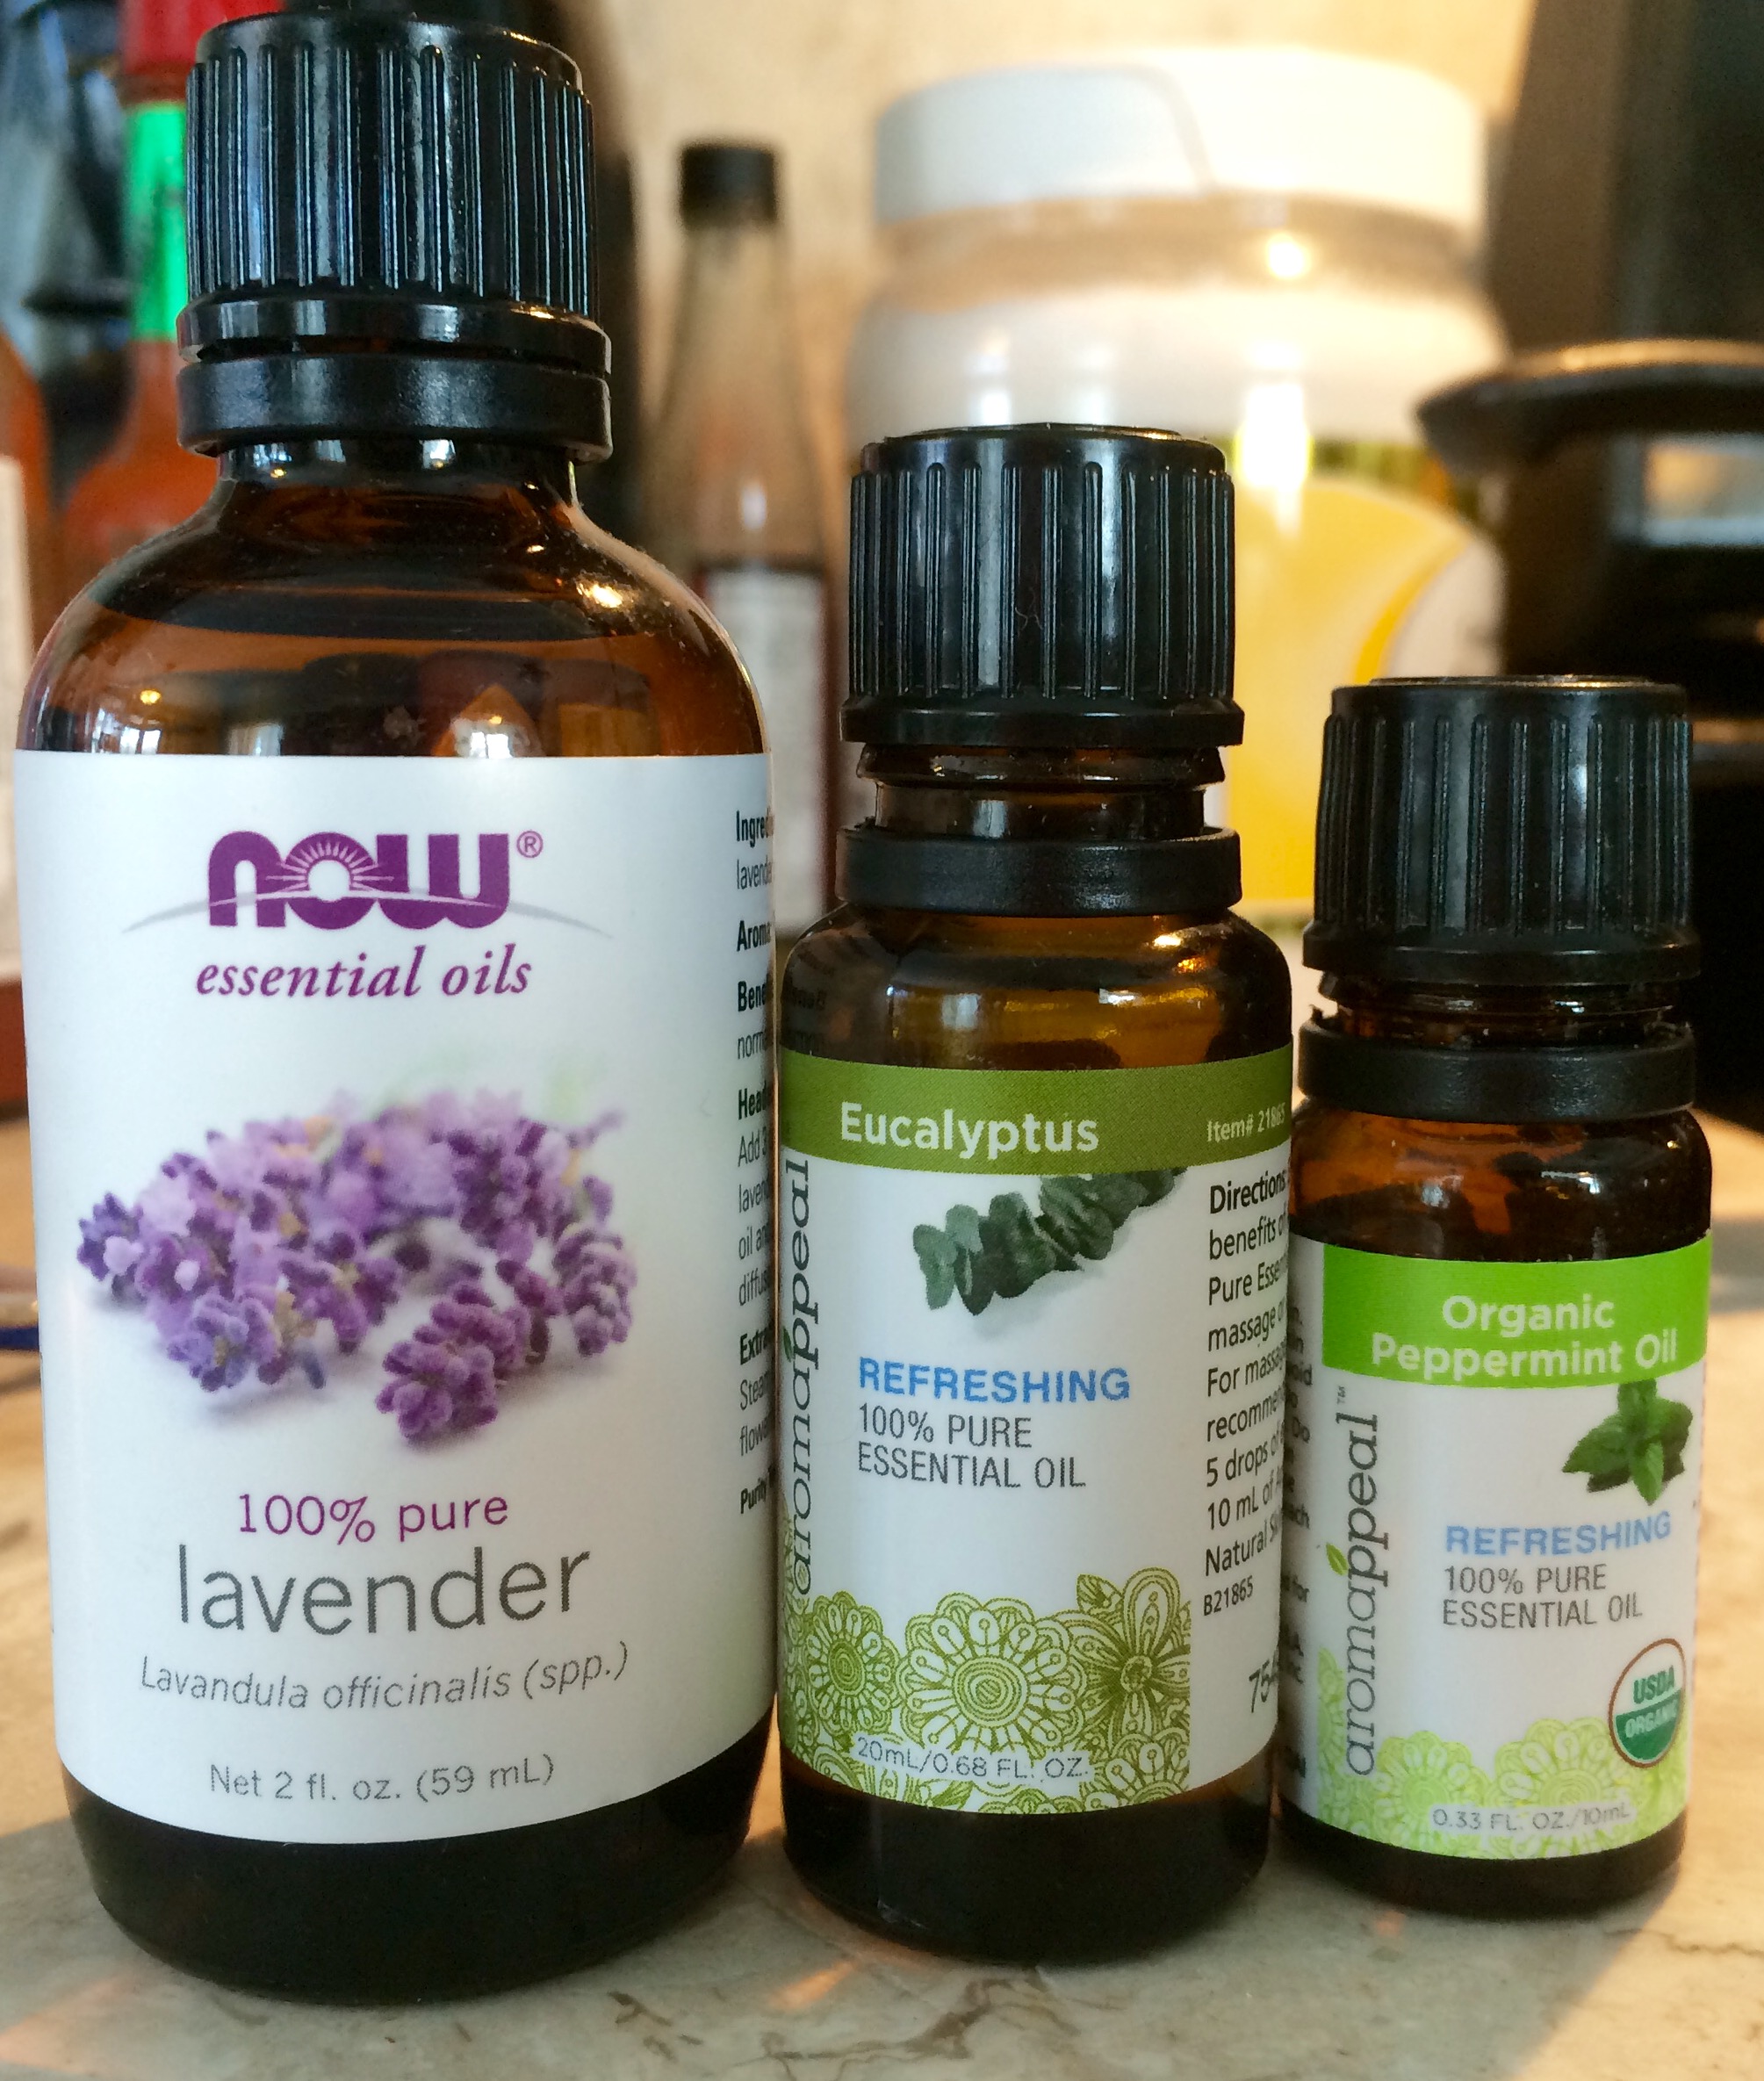
5 drops peppermint essential oil

5 drops eucalyptus essential oil

10 drops lavender essential oil

FullSizeRender (12)

Directions

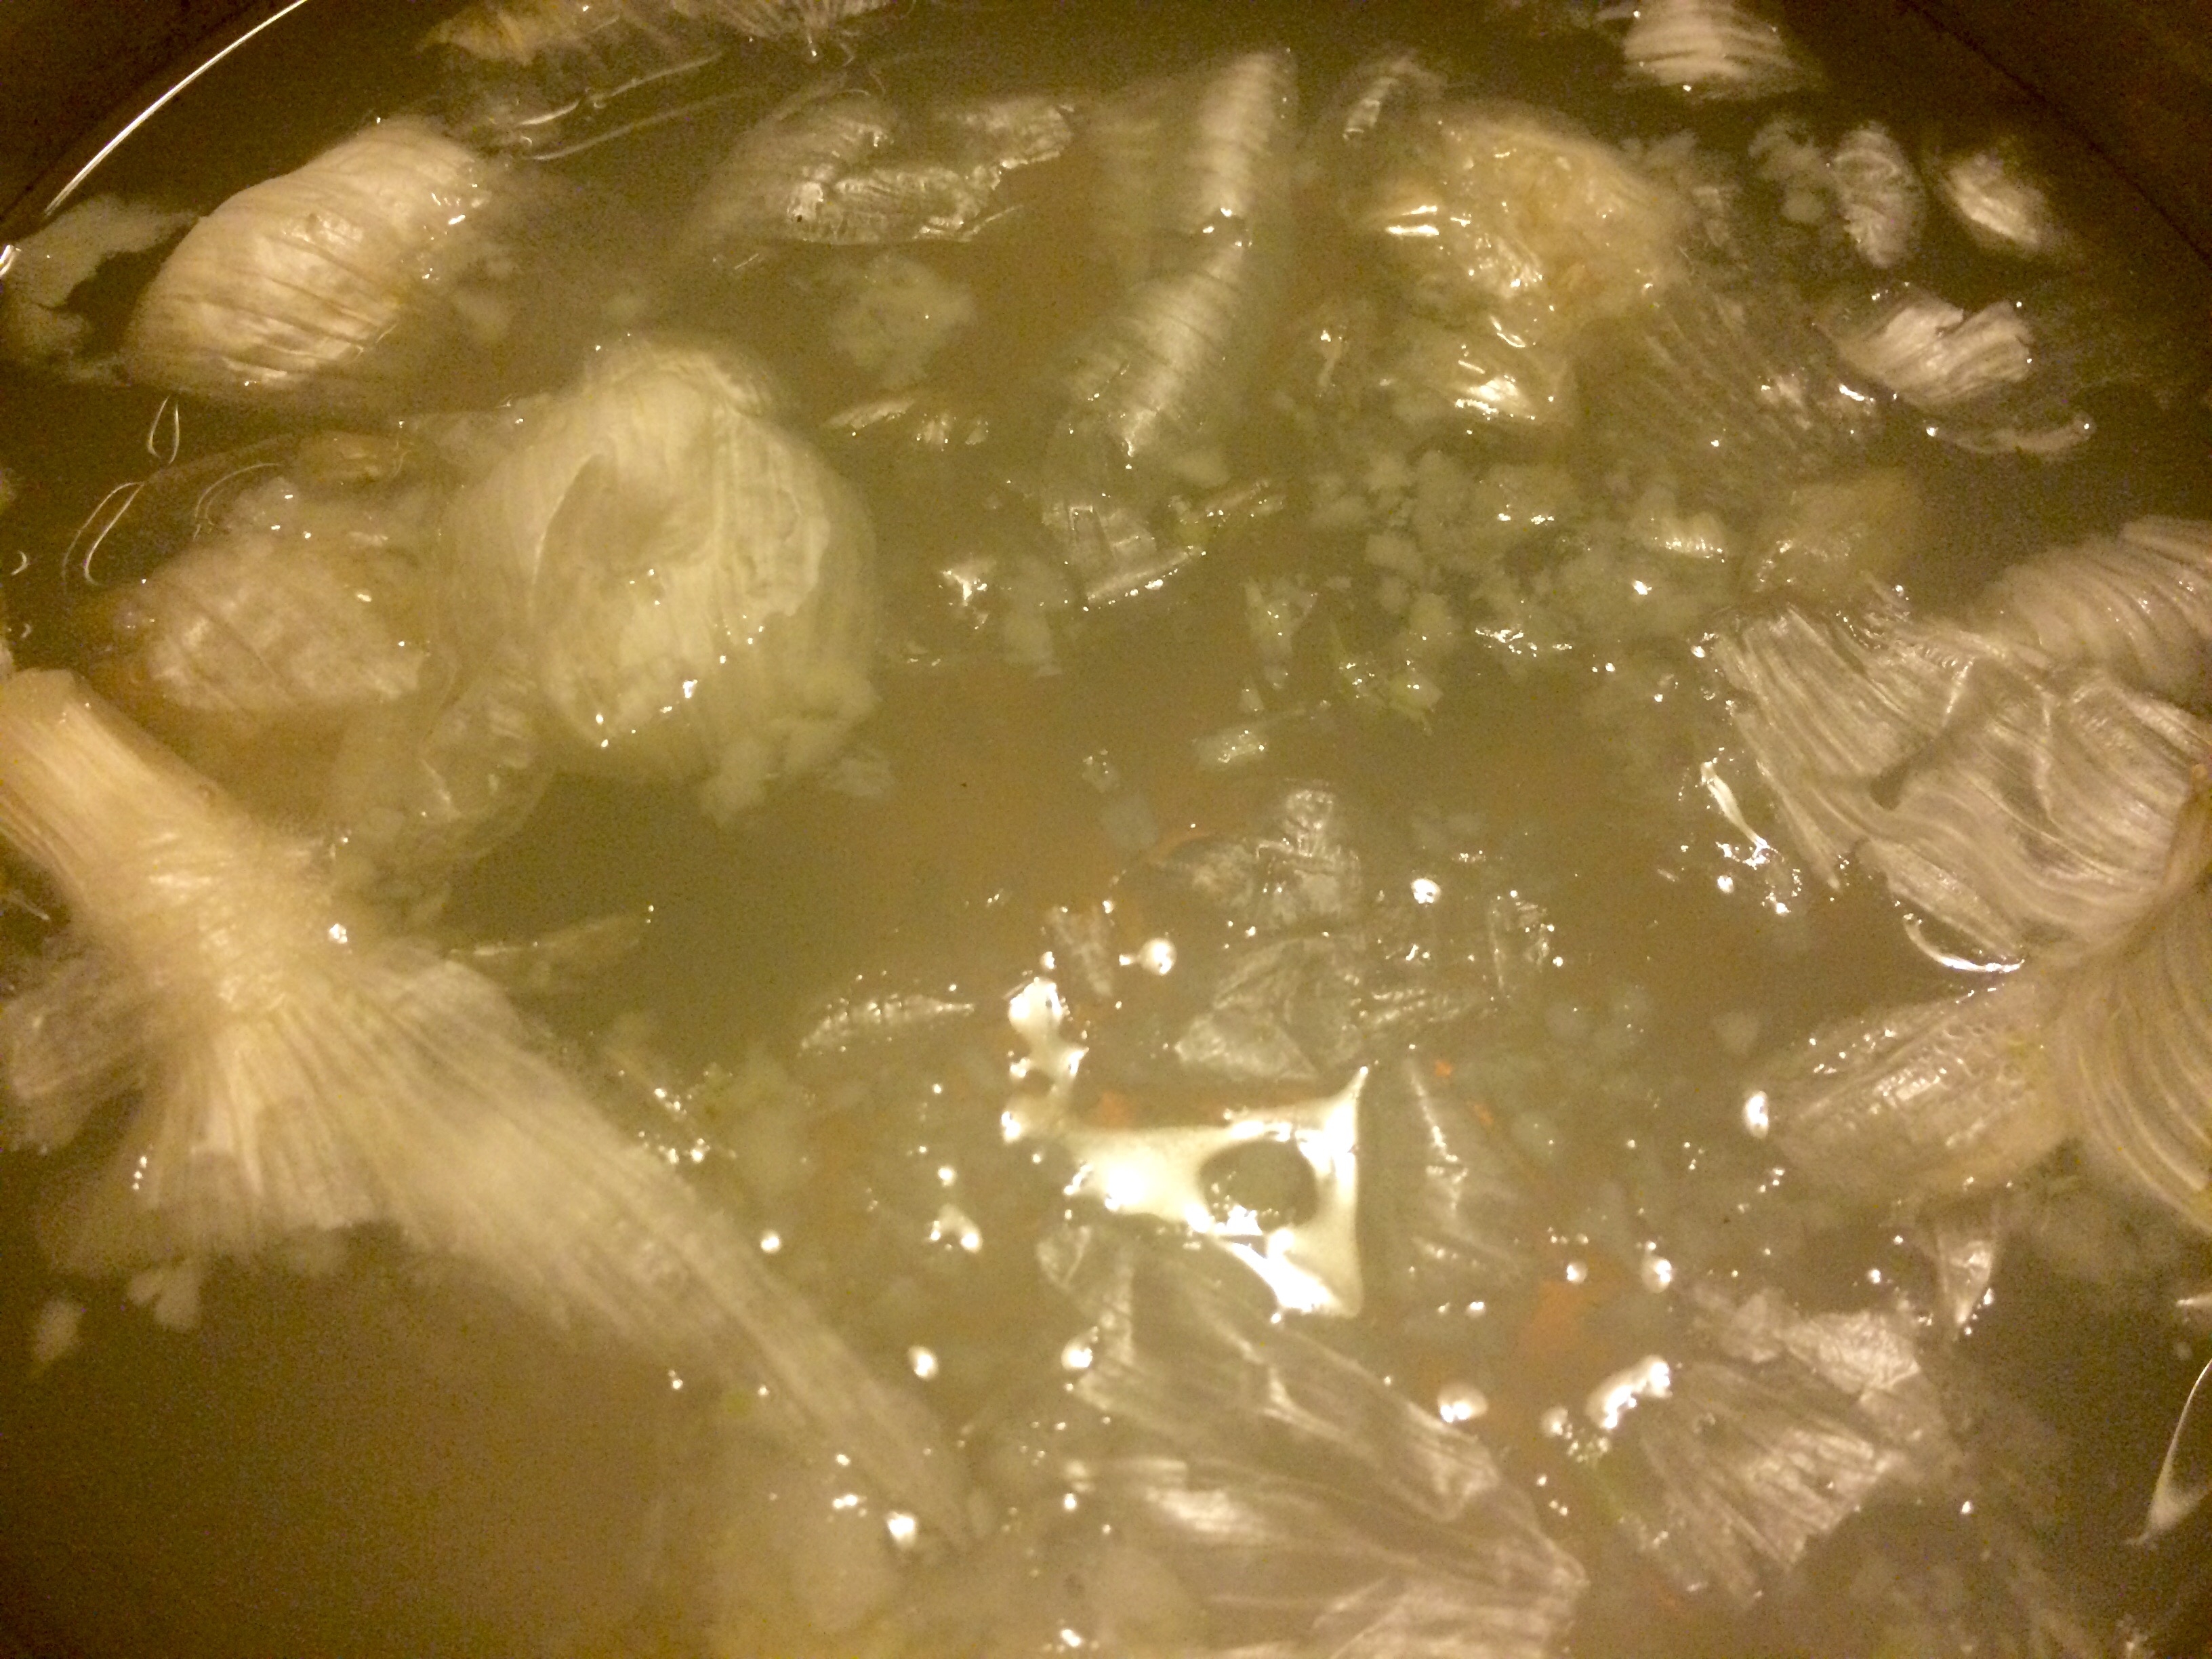
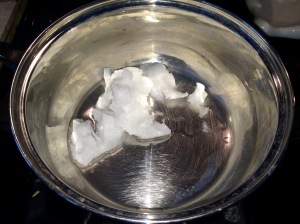
In a small saucepan, melt the coconut oil. Add the peppermint, eucalyptus, and lavender essential oils. Stir a few times to blend the ingredients together. Pour the mixture into a clean mason jar. Allow the oils to cool and solidify (this will take a few hours so I recommend making this when you don’t have any head pain; if you make it while you have a migraine like I did you’ll be waiting awhile).

FullSizeRender (9)

Once the oil is solid, rub on your forehead, behind your ears, and between your shoulder blades. I also rubbed it on other sore spots where the migraine causes pain such as my jaw, temple, scalp, and around my neck. Again, it wasn’t a cure-all, but when used in conjunction with other migraine remedies it was quite soothing. A secondary benefit I noticed was the skin on my forehead looked and felt great where I had rubbed in the oil. The smell of the lavender oil helped me to relax which can be difficult when your brain feels like it’s caught in a red-hot vice grip.

I love coconut and essential oils so much; they have enriched and enhanced my life. Here are some more posts I’ve written about both that you may find useful:

4 Practical Uses for Coconut Oil

A 5th Practical Use for Coconut Oil

7 Things to Do for Yourself as a Mom

Baby Dude’s Banana and Strawberry Smash Cake

These Aren’t Your Grandma’s Cloth Diapers: Modern Cloth Diapering 101

Ever Hear of Telo Efflu? Here’s What You Need to Know…

Baby Dude’s Ultimate Teething Toolbox

What are your favorite ways to use coconut oil and essential oils?

5 Ingredients to Relief: An All-Natural DIY Home Remedy for Sinus Congestion

I’m about six-and-a-half months pregnant with my second child as I write this, and am currently recovering from my third cold. Cold and flu season is no fun, and it brings a special kind of misery to pregnant women, as the options we have for medication are extremely limited. My husband recently discovered a natural home remedy he uses to relieve sinus pain. I’ve used it during the last two colds I’ve had with this pregnancy, and this time it was such an extra huge help I decided to write this post and share it with you. I highly recommend it if you have a cold, sinus infection or other sinus issues, chronic or not, pregnant or not. The relief it’s brought this mama is priceless!

Ingredients

Water

3-4 cloves garlic

2-5 drops each of rosemary essential oil, eucalyptus oil, and tea tree oil

FullSizeRender (6) Directions

Fill a medium saucepan two-thirds of the way full with water. Press the garlic cloves into the water (you can also throw in the skins for good measure). Bring the water to a boil. Add the eucalyptus, rosemary, and tea tree oils. Stir a few times to blend.

FullSizeRender (7)

I like to sit at my kitchen table with the saucepan on a pot holder. Set a timer for 15-20 minutes and drape a towel over your head. Breathe in the steam as deeply as you can for as long as possible, and repeat until the time expires. It helps to have a box of tissues nearby while you do this. If you’re too clogged to breathe through your nose, breathe through your mouth. Close your eyes if you need to. It stings and it burns, but I promise you it’s worth it.

FullSizeRender (8)

I found it especially helpful with this most recent cold to do the treatment in the evening before bed (which I followed up with an Espom salt and lavender oil bath), and then another one in the morning. I found immediate relief after the treatments, and then a half hour to an hour later and throughout the day I found they had helped even more. The oils work in your sinuses afterwards and continue to improve the symptoms. I feel it’s helped me to recover faster and if you try it I hope it helps you!

Four New Articles

I’ve been blessed to have four new articles published right around the same time (although I didn’t write them all at the same time). Below are links to two new articles in Profiles in Diversity Journal, one new mom blog post at my parenting blog for FE MediaThe FTM Chronicles, and one new story for Affect Magazine. Please click on the photos to read the stories, and I’d love to hear your thoughts on any or all of the new stuff. Thanks so much for reading!

Profiles in Diversity Journal: To read these articles, please click the photo, then click the zoom button to the right of the magnifying glass.

Student Conservation Association Diversifying National Park Service with Exciting Initiatives

SCA (12) Top Pharmaceutical Executive Pedro Lichtinger on Hispanic Youth Outreach and Diversity as Corporate Culture

Pedro 3 The FTM Chronicles

A Veggie Tale: 11 Ways to Get Toddlers to Eat Vegetables

Veggie Tale Affect Magazine

New Kind of Poetry Slam for Alzheimer’s, Dementia Sufferers

AJK Images- Minds Eye Poetry-37

The Best Pen for Left Handed Writers

Sarasa pen

When I was a child, I learned how to print using #2 pencils and children’s lined writing paper. It felt natural to me to put the pencil in my left hand, resulting in “hooked” writing and pencil lead smeared on the end of my palm and little finger. My teacher tried to persuade me to write with my right hand. She attempted to show me how by holding the pencil and guiding my hand. It felt awful. Horrible. Unnatural. Wrong, even. I refused and told her I needed to write with my left hand. I went home and told my parents about it, and they strongly supported my decision, knowing that I was left handed, just like my dad.

I’ve written all my life with pencil and ink smears on my left hand. I’d be lying if I said it didn’t bother me, although I wouldn’t change it. I just wash my hands when I’m done. It’s a part of my life as a professional freelance writer.

Another part of my life as a professional freelance writer is the tradition my husband has started at Christmas of stuffing my stocking with a pack of pens. I look forward to the pens every year. This past Christmas, my husband hit the mother load and may have solved my left handed ink smearing woes forever.

For Christmas 2014, stuffed in my stocking were a dozen Zebra Sarasa Rapid Dry Ink gel pens in black. Sarasa is one of my favorite pen brands. But the Rapid Dry Ink pens are “ideal for the left handed,” and let me tell you, they live up to that claim. I LOVE them. I may never buy another type of pen ever again. I don’t have any ink on my hand once I’m done writing. It’s amazing. I didn’t think it was possible. Writing by hand has never been more enjoyable.

The Amazon link is not an affiliate link. I am simply so excited about these pens and wanted to share them with you. These pens would be great for right handed writers as well, as the ink is smooth and really does dry in less than a second on paper. For left handed writers, however, these pens are a boon. My only regret is not discovering them sooner, and I’m so grateful my husband saw them and knew how much I’d like writing with such a pen.

What’s your favorite writing instrument?

New Gig at Affect Magazine

Happy New Year to you! I’m excited to share I’m writing for Affect Magazine, an online publication with the goal of “spreading hope and sparking social change conversation.” I enjoy writing about the good in the world as a way to shine light in the darkness. Below are links to the first three stories I’ve written for Affect (click on the photos to read). Thanks for reading, and I hope you not only enjoy the stories, but that they leave you feeling hopeful and inspired. We can make a big difference if we all do a little.

Beyoncé, Desmond Howard & State Bags Bring Hope to Kids in Need

State Bags

Horvath Spotlights @Home-Less in New Documentary

Mark Horvath

The Fab Four: Colleges in Central U.S. Give Back in Unique Ways

Fab Four

Potpourri in a Jar: Homemade Holiday Host/Hostess Gift

I hope you had a wonderful Christmas. If you’re attending New Year’s Eve or Day festivities and looking for a last minute host or hostess gift, try this recipe for homemade potpourri. It’s easy, economical, and fun!

FullSizeRender (4)

Ingredients

1 orange, quartered

1/2 cup cranberries

3 cinnamon sticks

1 apple, cut into slices

3 springs of pine (look for these in your yard!)

Directions

Put all ingredients into a mason jar, then fill the jar with water. That’s it! If you want to get fancy, you can decorate the jar with some ribbon or put a label on the lid. We made multiple jars to take to our family Christmas gatherings and used “Merry Christmas” labels on the lids.

FullSizeRender (5)

All the recipient has to do is dump the jar into a saucepan, bring to a boil on the stove top, and then simmer on low to fill the air with the fragrant smells of oranges, cranberries, apples, cinnamon, and pine. As the water boils off, more water can be added. We found this could be used about three times.

Wishing you all a happy, safe, and blessed 2015 from The Chipper Writer!

Kale Avocado Wrap Inspired by Anna Gannon

FullSizeRender_1

I found this recipe from Anna Gannon for kale avocado wraps on MindBodyGreen. It’s presented as a lunch recipe, but I made it for dinner one night, along with some Annie’s macaroni and cheese. The sandwich filled my husband up, which is impressive, especially for a meatless meal. Avocado is a wonderful meaty fruit that serves well as a meat substitute. I did, of course, tweak the recipe just a bit, due to what was already in my fridge. The recipe below is for 1 wrap.

Ingredients

1 cup shredded kale (I used fresh kale from our garden; kale gets sweeter after a hard frost and our kale is the last thing standing in our garden this year!)

1 tbsp olive oil (I love California Olive Ranch)

2 tbsp lime juice (or you can use the juice of 1 lime)

1/8 tsp salt (I like Himalayan pink salt)

1 tbsp hummus

1/2 sliced avocado (I used organic)

2 tbsp feta cheese

Wrap (the recipe calls for spinach wraps but I used Flatout Multi-Grain with Flax)

Directions

Mix kale, olive oil, lime juice and salt in a small bowl. Set aside for the second step.

FullSizeRender

Shredded kale from our garden!

FullSizeRender_1

The kale mixture

Spread the hummus on the wrap.

FullSizeRender_2

Add the sliced avocado.

FullSizeRender_3

Spoon feta cheese over avocado.

FullSizeRender_4

Add the kale mixture.

FullSizeRender

Roll it up and enjoy! It’s a quick meal to whip up around the holidays when you’re short on time. It’s also a nutritious option to help offset all the Christmas cookies I’m eating (ahem). Enjoy!